

There’s nothing quite like the sweet aroma of canning pears wafting through the kitchen, a warm hug for your senses. Picture juicy, golden pears bubbling away in syrup, their fragrance mingling with cinnamon and a hint of vanilla—it’s enough to make anyone weak in the knees.
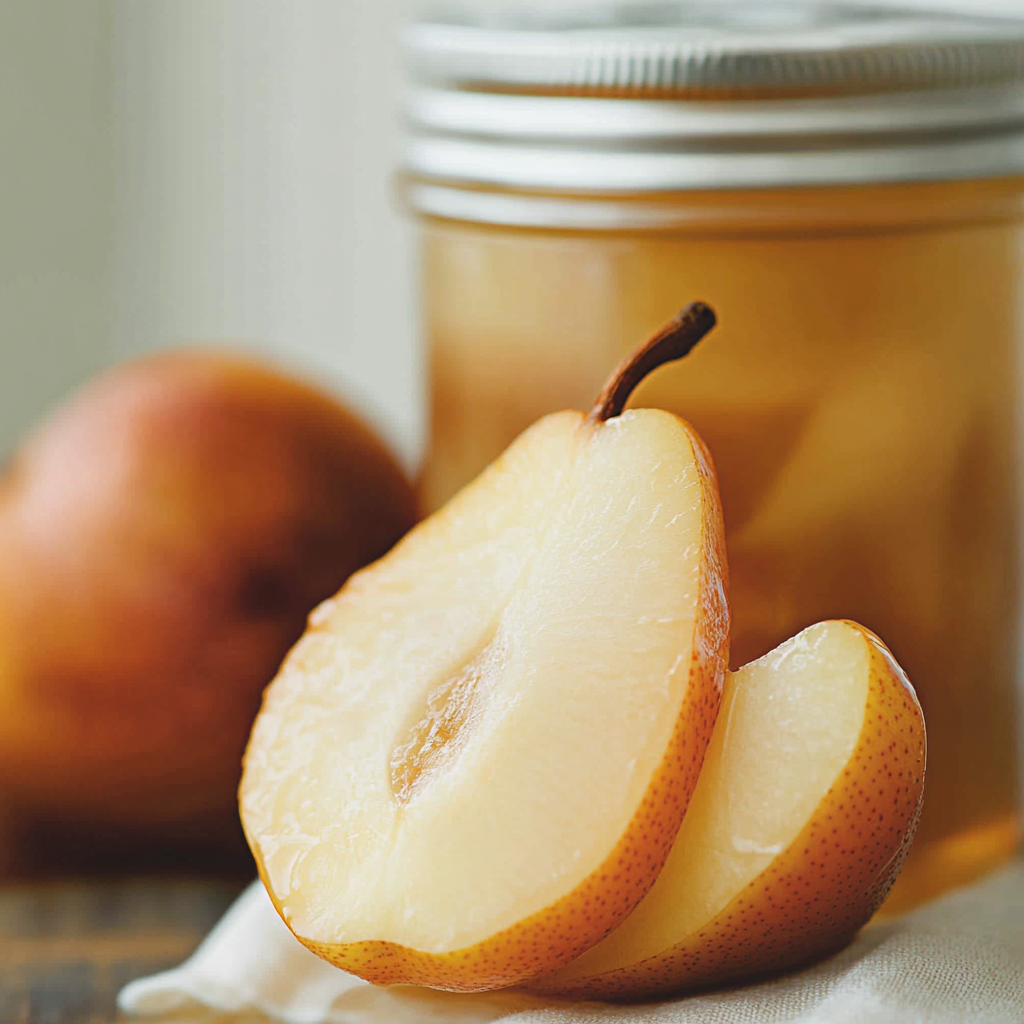
Canning pears is not just about preserving fruit; it’s about creating memories. I remember my grandmother’s kitchen filled with laughter and chatter as we prepared jars of these luscious delights. Whether you’re making them for a cozy winter dessert or a summertime picnic, canning pears is an experience that brings family together.
Why You'll Love This Recipe
- Canning pears is incredibly easy and yields delicious results
- The flavor is unmatched, offering a perfect blend of sweetness and spice
- These jars look beautiful on any shelf, ready to impress guests
- Enjoy them as a snack, dessert, or in salads for added flair
My friends were amazed when they tasted my canned pears last summer; they couldn’t believe I made them from scratch!
Essential Ingredients
Here’s what you’ll need to make this delicious dish:
-
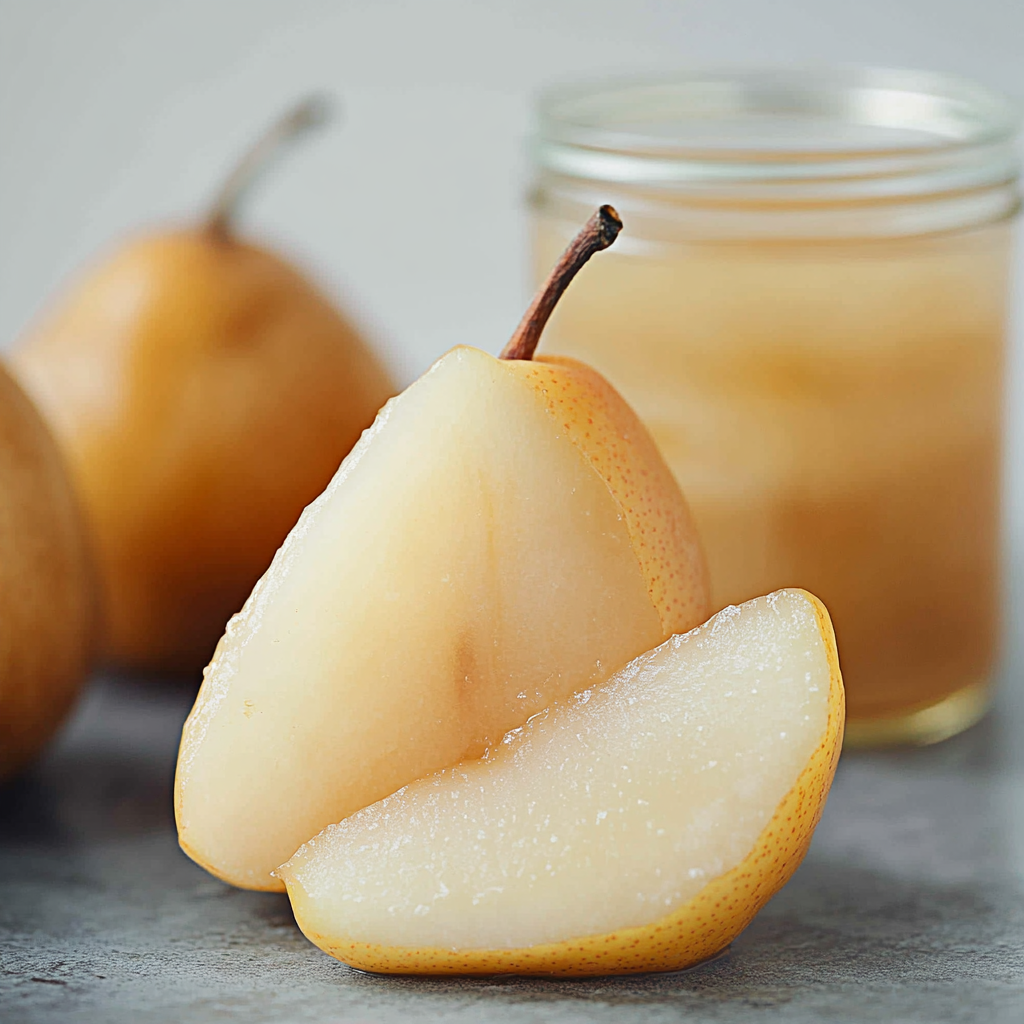
Pears: Choose ripe but firm pears for best results; Bartlett or Anjou varieties work wonderfully.
-
Sugar: Granulated sugar enhances the sweetness; adjust based on your taste preference.
-
Water: Use filtered water for better flavor and clarity in the syrup.
-
Lemon Juice: Freshly squeezed lemon juice prevents browning and adds a zesty kick.
-
Cinnamon Sticks: They infuse warmth and spice into the syrup—an essential ingredient for flavor.
The full ingredients list, including measurements, is provided in the recipe card directly below.
Let’s Make it Together
Prepare Your Workspace: Clear your kitchen counter and gather all necessary tools such as jars, lids, and a canner. Ensure everything is clean to prevent spoilage.
Wash and Slice Pears: Rinse the pears under cold water. Cut them into halves or quarters, removing seeds while keeping their lovely skin intact for color.
Make the Syrup: In a pot, combine water and sugar over medium heat until dissolved. Add lemon juice and cinnamon sticks, stirring until fragrant—a delightful aroma will fill your kitchen.
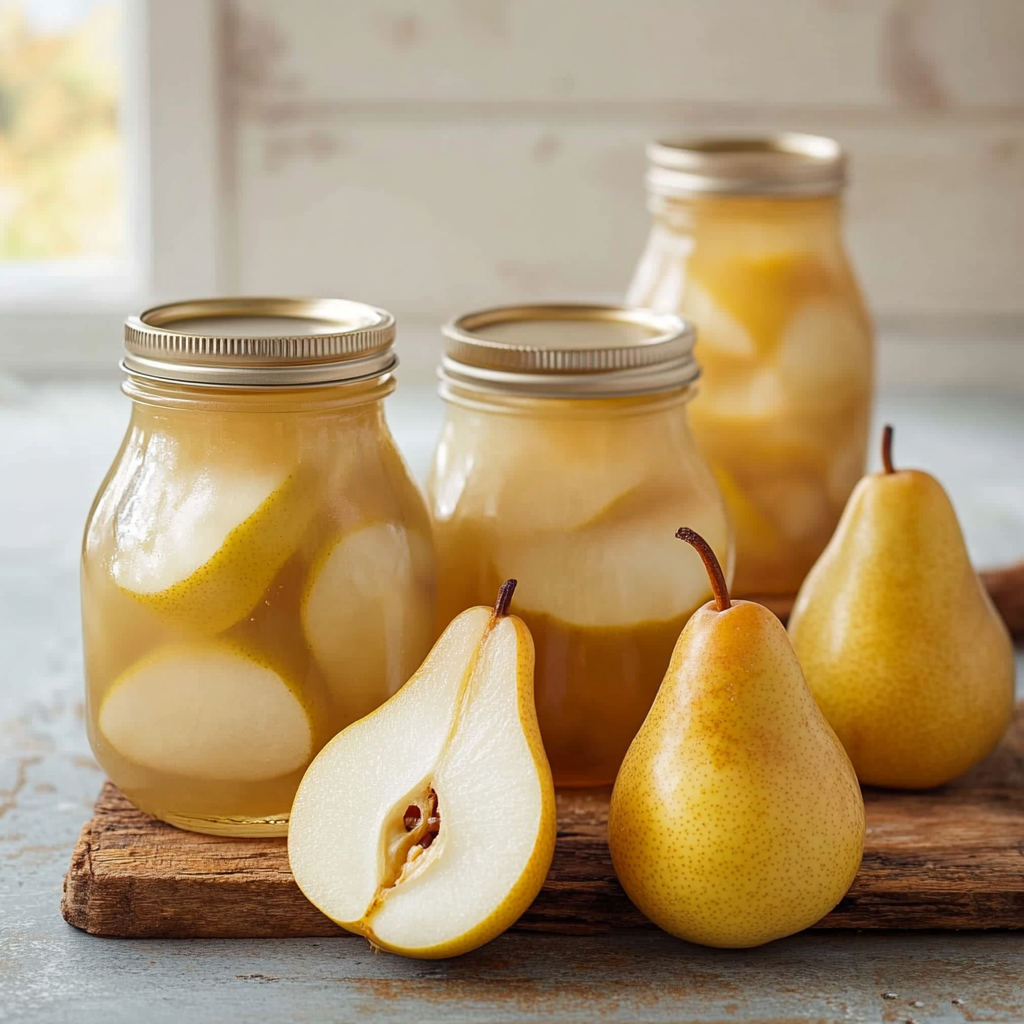
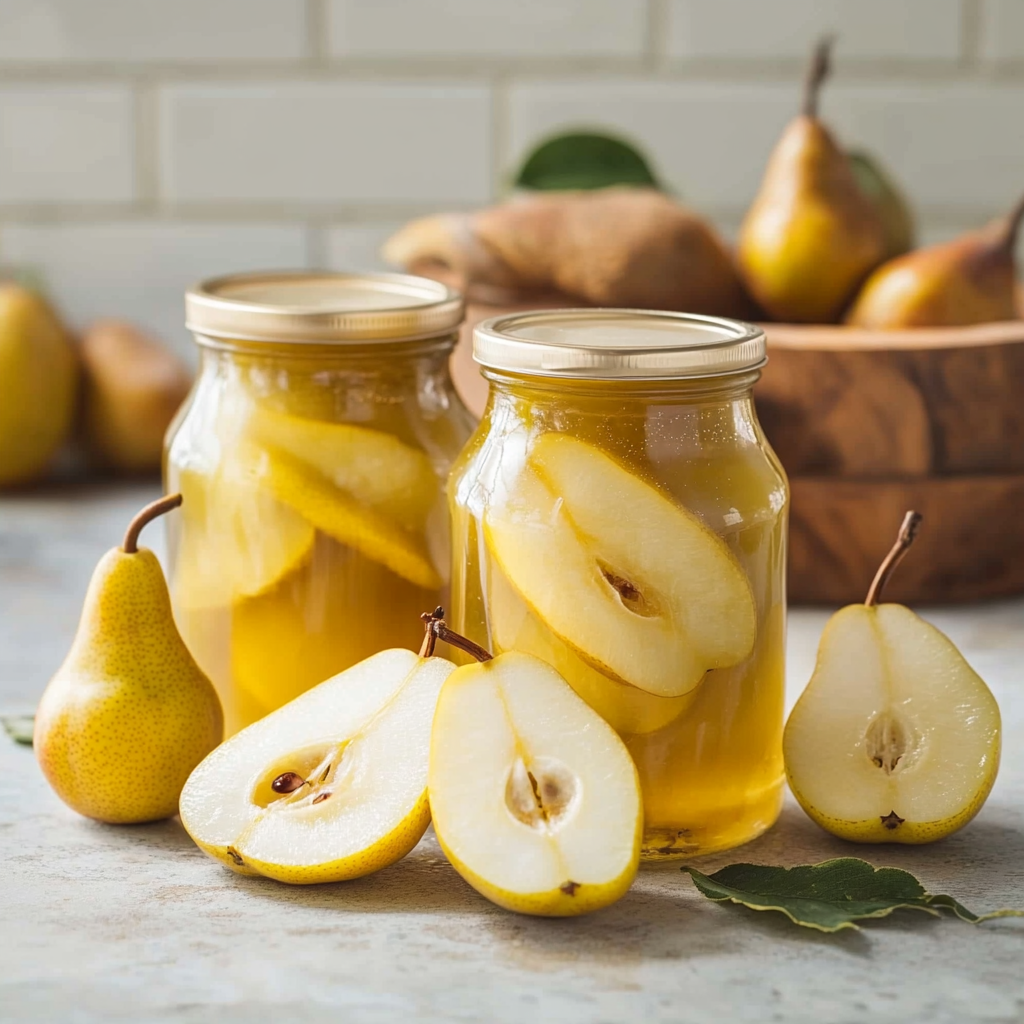
Pack Your Jars: Carefully place pear slices into sterilized jars, packing them tightly but gently to maintain their shape. Pour hot syrup over the pears, leaving about half an inch of headspace at the top.
Process the Jars: Seal jars with lids and place them in your boiling water bath for 15-20 minutes. This step ensures safe preservation while making your kitchen smell heavenly.
Cool and Store: Once processed, remove jars from the canner carefully using tongs. Let them cool completely on a clean towel before storing them in a cool dark place.
With these tips in mind, you’ll create delightful jars of canned pears that are perfect year-round! Enjoy the process as much as the delicious results.
You Must Know
- Canning pears is an art that transforms ordinary fruits into sweet, juicy delights
- The aroma of warm syrup fills your kitchen, and the colorful jars make for perfect gifts
- Plus, the satisfaction of preserving your own food is simply unmatched
Perfecting the Cooking Process
Begin by peeling and slicing pears, then simmer them in a sugar syrup while preparing jars for canning. This ensures pears stay tender and flavorful.
Add Your Touch
Consider adding spices like cinnamon or nutmeg to your syrup for a cozy twist. You can also swap out sugar for honey for a healthier option.
Storing & Reheating
Store canned pears in a cool, dark place for up to one year. To serve, simply open a jar and enjoy cold or heated gently.
Chef's Helpful Tips
- Canning pears requires the right balance of sweetness; taste your syrup before canning
- Ensure your jars are sterilized to prevent spoilage
- Always check seals after cooling to ensure freshness
Sometimes, I still recall my first attempt at canning pears; I accidentally made more syrup than needed and ended up with a sticky kitchen!
FAQ
What type of pears are best for canning pears?
Bartlett and Anjou pears are perfect due to their sweet flavor and firm texture.
How long does it take to can pears?
The entire process takes about 1-2 hours from preparation to sealing the jars.
Can I use frozen pears for canning?
Yes, you can use frozen pears, but fresh ones yield better flavor and texture when canned.
Canned Pears

Canning pears is a delightful way to capture the essence of this juicy fruit, transforming them into sweet, fragrant jars for year-round enjoyment. This simple recipe fills your kitchen with warm aromas of cinnamon and vanilla while creating delicious memories with family and friends. Whether enjoyed in desserts, salads, or straight from the jar, homemade canned pears are a treat that will impress everyone.
- Prep Time: 30 minutes
- Cook Time: 20 minutes
- Total Time: 50 minutes
- Yield: Approximately 4 servings (2 cups total) 1x
- Category: Dessert
- Method: Canning
- Cuisine: American
Ingredients
- 6 ripe Bartlett or Anjou pears
- 1 cup granulated sugar
- 4 cups filtered water
- 1/4 cup freshly squeezed lemon juice
- 3 cinnamon sticks
Instructions
- Prepare your workspace by cleaning and sterilizing jars and lids.
- Rinse pears under cold water, slice into halves or quarters, and remove seeds while keeping the skin.
- In a pot, combine water and sugar over medium heat until dissolved. Stir in lemon juice and cinnamon sticks until fragrant.
- Pack pear slices tightly into sterilized jars, leaving half an inch of headspace. Pour hot syrup over pears.
- Seal jars with lids and process in boiling water for 15-20 minutes.
- Carefully cool jars on a towel before storing in a cool, dark place.
Nutrition
- Serving Size: 1/2 cup (125g)
- Calories: 150
- Sugar: 32g
- Sodium: 0mg
- Fat: 0g
- Saturated Fat: 0g
- Unsaturated Fat: 0g
- Trans Fat: 0g
- Carbohydrates: 38g
- Fiber: 3g
- Protein: <1g
- Cholesterol: 0mg

Leave a Comment