Imagine biting into a warm slice of apple pie, where the sweet, spiced aroma wraps around you like a cozy blanket. The luscious, cinnamon-infused apples nestled in a flaky crust create a symphony of flavors dancing on your tongue, with each bite evoking memories of autumn gatherings and family traditions. When it comes to quick desserts, canned apple pie filling recipes are the go-to lifesaver that saves the day while ensuring you impress your friends and family.
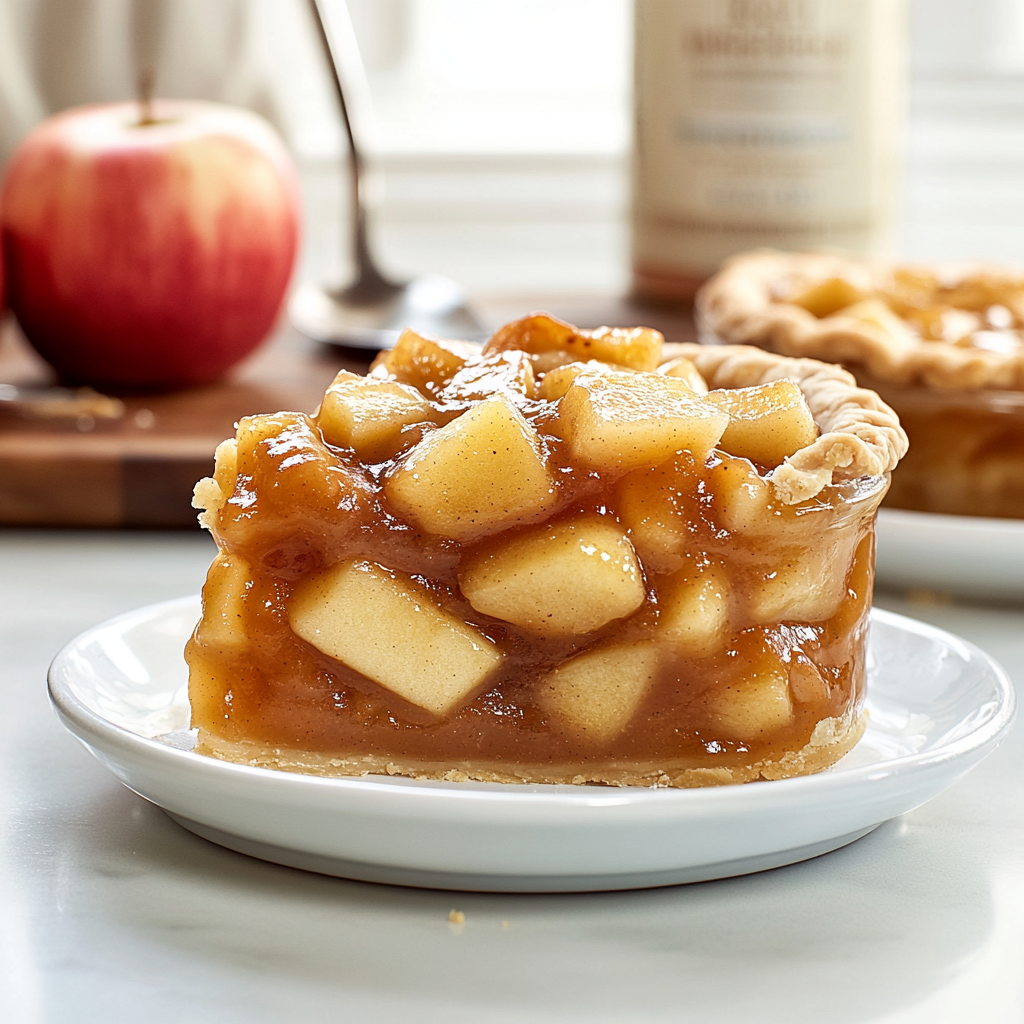
Have you ever been in a cooking pinch, staring blankly at your empty fridge and wondering how to whip up something sweet? That was me last Thanksgiving; I had guests arriving in hours, and my apple pie dreams were fading fast. Thankfully, I remembered those magical cans of apple pie filling sitting innocently in my pantry. With just a few ingredients and minimal effort, I turned that moment of panic into an epic dessert triumph!
Why You'll Love This Recipe
- Canned apple pie filling recipes make dessert preparation effortless and enjoyable
- You can customize flavors based on your preferences or what’s on hand
- The vibrant colors and delightful aromas will captivate your guests
- Perfect for any occasion, from casual weeknight dinners to festive celebrations!
I remember the first time I served this dish; my family swooned over the deliciousness!
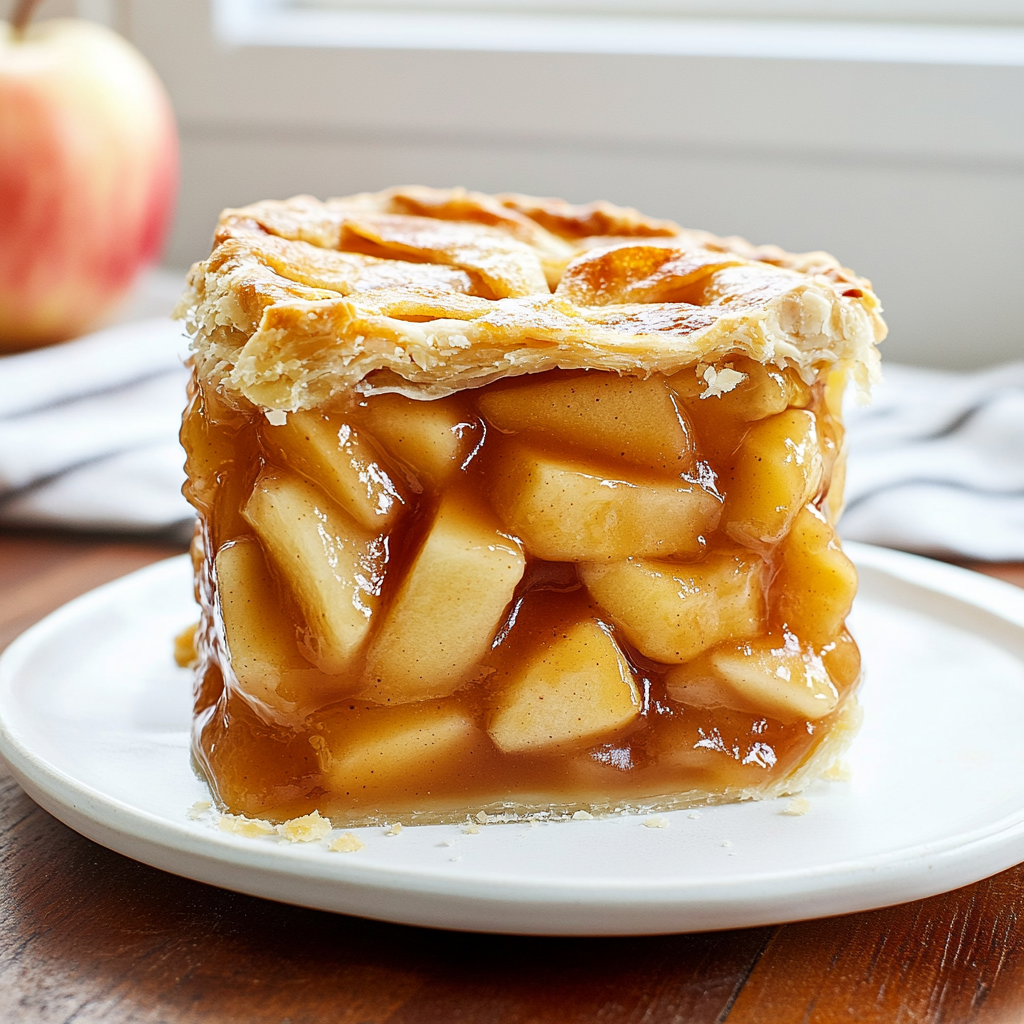
Essential Ingredients
Here’s what you’ll need to make this delicious dish:
-
Canned Apple Pie Filling: Choose a high-quality brand for the best flavor; check for real fruit pieces inside.
-
Pie Crusts: Use store-bought or homemade; either works well for an easy preparation.
-
Cinnamon: Freshly ground cinnamon enhances the warmth; sprinkle it generously for that cozy flavor.
-
Sugar: Adjust sweetness to taste; brown sugar adds extra depth if you prefer.
-
Butter: A few pats of butter over the filling before baking adds richness and flavor.
-
Egg Wash (optional): An egg wash gives your crust a golden, shiny finish—who doesn’t love that?
The full ingredients list, including measurements, is provided in the recipe card directly below.
Let’s Make It Together
Preheat Your Oven: Preheat your oven to 425°F (220°C). This step is crucial for achieving that perfectly golden crust everyone loves.
Prepare Your Pie Crusts: Roll out one crust into a pie dish. Ensure it fits snugly against the sides; no one likes a floppy crust.
Add Canned Apple Pie Filling: Open up your can of apple pie filling and pour it into the prepared crust. Spread it evenly so every slice has a generous amount.
Season with Cinnamon and Sugar: Sprinkle cinnamon and sugar over the top of the filling. This step elevates flavors while adding an enticing aroma during baking.
Top with Butter and Crust: Dot small pieces of butter on top of the filling for added richness. Carefully place your second crust over the top and seal the edges well.
Bake Until Golden Brown: Bake in preheated oven for about 30-35 minutes or until crust is golden brown. Keep an eye out because we want perfection here!
Serve warm with ice cream or whipped cream on top—trust me, it’s heavenly!
Now you’re all set to wow your guests with minimal effort! These canned apple pie filling recipes are perfect not only for special occasions but also for those whimsical weeknights when you crave something sweet without spending hours in the kitchen. Happy baking!
You Must Know
- Canned apple pie filling recipes make dessert preparation a breeze
- The sweet aroma will fill your kitchen, inviting everyone to gather
- This versatile filling suits pies, tarts, or even breakfast pastries, making it a must-have in your pantry
Perfecting the Cooking Process
Start by prepping your apples and filling the canning jars while boiling the lids. Then, cook the filling for 10-15 minutes before sealing. This sequence ensures even flavors and perfect texture in your canned apple pie filling.
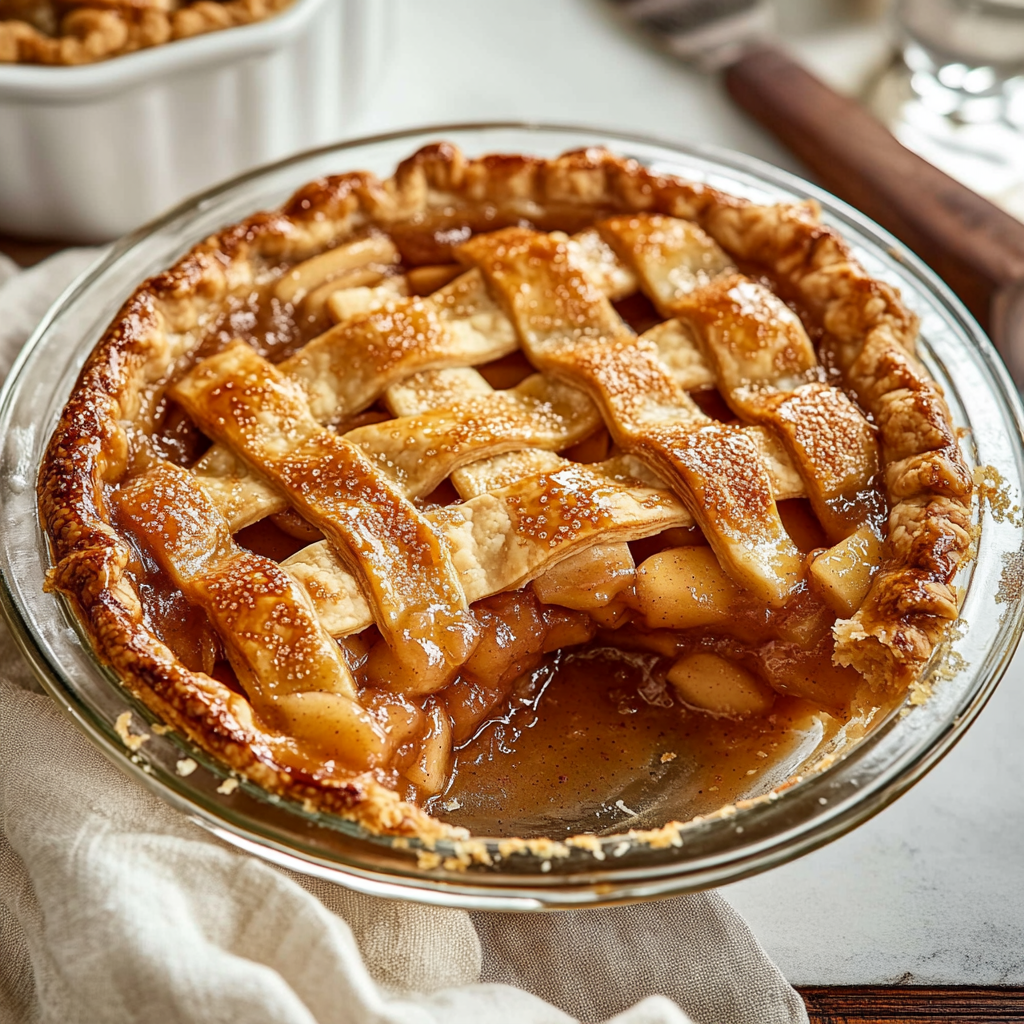
Add Your Touch
Consider adding spices like cinnamon or nutmeg to enhance the flavor of your filling. You could also swap in different apple varieties for unique tastes, giving you flexibility as you create delicious desserts.
Storing & Reheating
Store sealed jars in a cool, dark place for up to one year. For reheating, simply warm the contents on the stove until heated through or use them straight from the jar for quick pie assembly.
Chef's Helpful Tips
- When preparing canned apple pie filling recipes, remember to choose firm apples that hold their shape well during cooking
- It’s also essential not to overfill jars to ensure proper sealing
- Lastly, always check for bubbles; they can spoil your perfect pie!
Sharing my first attempt at these canned apple pie filling recipes brings back fond memories. My family declared it the best dessert ever, and I felt like a culinary rockstar that day!
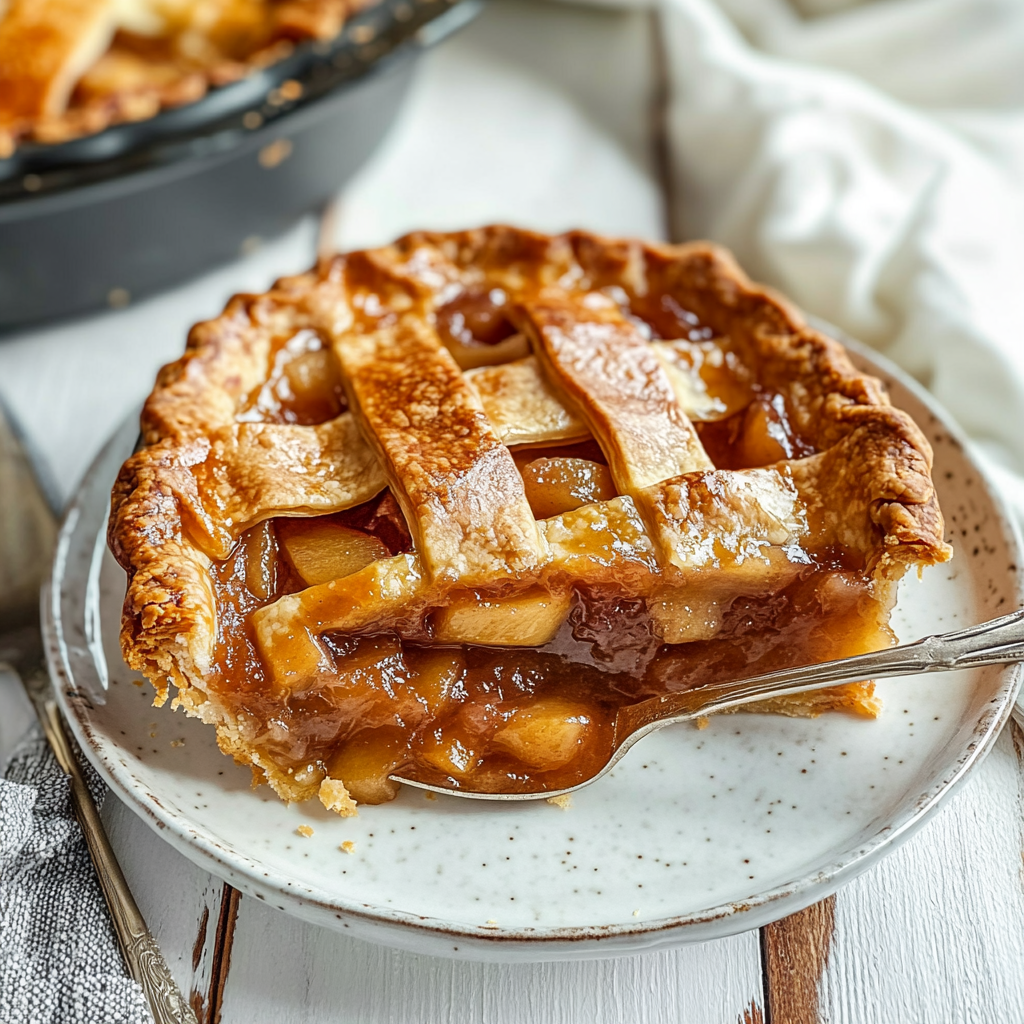
FAQ
Can I use frozen apples for canned apple pie filling recipes?
Yes, frozen apples work well but may release more moisture when cooked.
How do I adjust sweetness in canned apple pie filling recipes?
You can easily add or reduce sugar based on personal taste preferences.
What type of apples are best for this recipe?
Firm varieties like Granny Smith or Honeycrisp are ideal for optimal texture and flavor.
Easy Apple Pie with Canned Filling
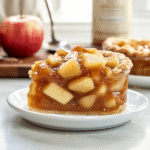
Apple pie made easy with canned apple pie filling! This delightful dessert is perfect for any occasion, bringing together the warm flavors of cinnamon-infused apples nestled in a flaky crust. Impress your friends and family without the hassle of from-scratch preparation. In just a few simple steps, you’ll transform pantry staples into a comforting classic that evokes cherished autumn memories.
- Prep Time: 15 minutes
- Cook Time: 35 minutes
- Total Time: 50 minutes
- Yield: Serves 8
- Category: Dessert
- Method: Baking
- Cuisine: American
Ingredients
- 1 can (21 oz) canned apple pie filling
- 1 store-bought pie crust
- 1 tsp ground cinnamon
- 1/4 cup granulated sugar (adjust to taste)
- 2 tbsp butter, cut into small pieces
- 1 egg (optional, for egg wash)
Instructions
- Preheat oven to 425°F (220°C).
- Roll out the pie crust and place it in a pie dish.
- Pour the canned apple pie filling evenly over the crust.
- Sprinkle cinnamon and sugar on top of the filling.
- Dot with butter pieces and cover with the second crust, sealing the edges.
- Bake for 30-35 minutes or until golden brown.
Nutrition
- Serving Size: 1 slice (100g)
- Calories: 230
- Sugar: 18g
- Sodium: 180mg
- Fat: 9g
- Saturated Fat: 4g
- Unsaturated Fat: 4g
- Trans Fat: 0g
- Carbohydrates: 36g
- Fiber: 2g
- Protein: 2g
- Cholesterol: 20mg




Leave a Comment